Difference between revisions of "Notes"
(No difference)
|
Latest revision as of 23:29, 16 March 2015
While translating or reviewing translated content, you have the option of adding notes specific to each segment. Find below the procedures for the following tasks:
- Adding notes
- Editing notes
- Deleting notes
- Exporting Notes
Adding notes
To add a note:
1. Follow the steps to open a file from section Opening a file.
The file appears in the Translation window. The first translatable segment will appear in a blue background, and your cursor will be in the target segment by default.
2. Place your cursor in the segment where you want to add a quote.
3. Select Translation Memory > Add Note... or click ![]() .
.
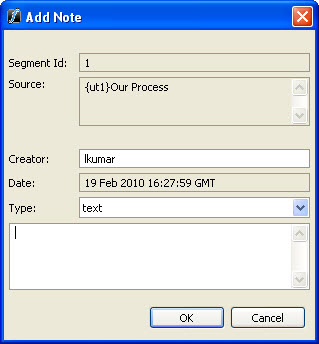
The Add Note dialog box appears.
4. Enter the note in the box and click OK.
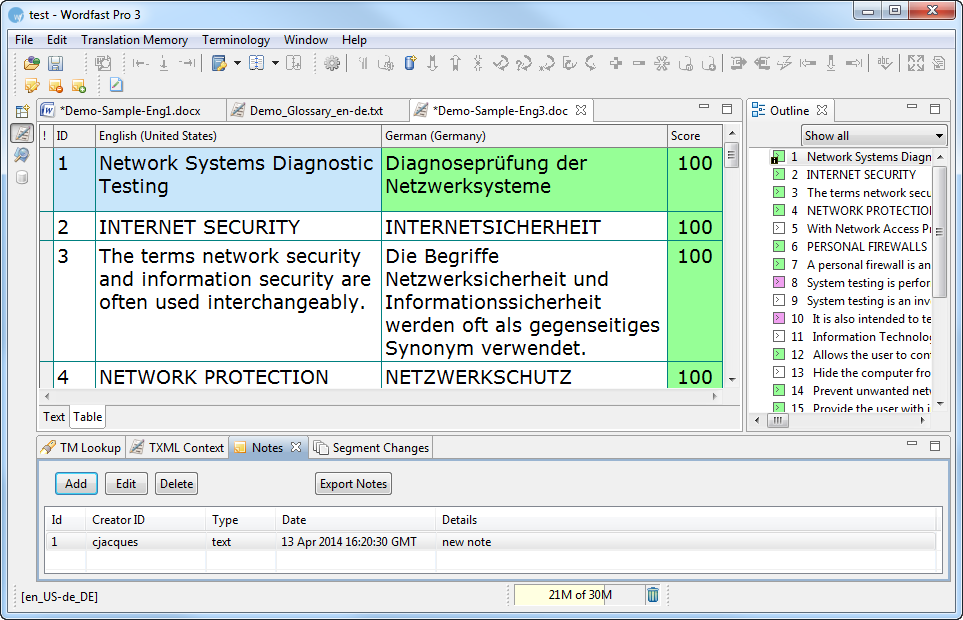
The note appears in the Notes tab and an 'i' symbol appears next to the segment in the Outline window as shown in the screenshot below.
Editing notes
To edit notes, you can select Translation Memory > Edit Note... or right click on the note in the Notes tab and select Edit Note or click ![]() .
.
Deleting notes
To delete notes, you can select Translation Memory > Delete Note... or right click on the note in the Notes tab and select Delete Note or click ![]() .
.
Exporting notes
To export notes in Word format,
1. Click Export Notes in the Notes tab. ![]()
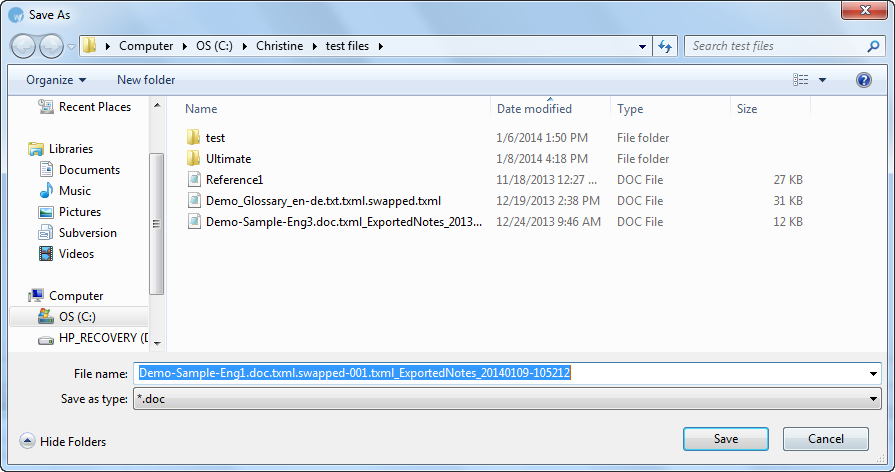
The Save As dialog box appears:
By default, notes are saved to the same folder that contains the original files.
2. Click Save.
The following message appears.
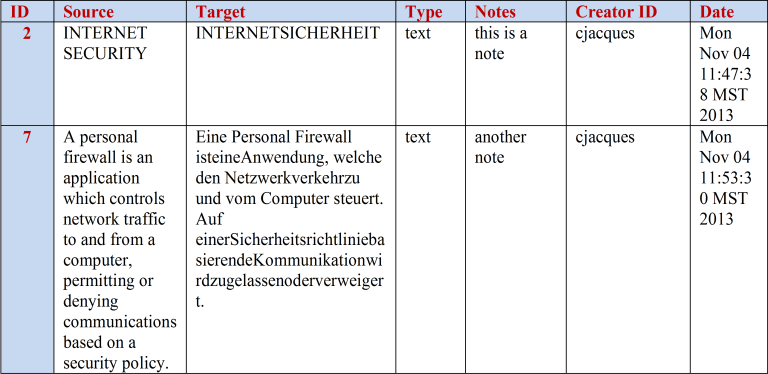
The notes are formatted as a Word table, as shown in the screenshot below.


